Learn how to combine the Para Modal with Cosmos wallets.
This guide will walk you through the process of integrating Cosmos Wallets into your Para Modal and Para-enabled
application, allowing you to onboard new users and connect with existing users who may already have external wallets
like Keplr, Leap and more.
Before integrating wallet connections, ensure you have an existing Para project with the Para Modal set up. If you
haven’t set up Para yet, follow one of our Framework Setup guides like thisReact + Viteguide.
Import the necessary wallet connectors and chain configurations:
main.tsx
Copy
Ask AI
import { useState } from "react";import { ParaCosmosProvider, keplrWallet, leapWallet } from "@getpara/cosmos-wallet-connectors";import { cosmoshub, osmosis } from "graz/chains";import { type ChainInfo } from "keplr-wallet/types";
If you encounter type issues with graz/chains, you’ll need to generate the chain files. You can:
Or run npx graz --generate manually after installation
3
Configure chains
Set up your Cosmos chain configurations with the necessary RPC and REST endpoints. You can extend the existing chain configurations with your custom endpoints:
main.tsx
Copy
Ask AI
const cosmosChains: ChainInfo[] = [ { ...cosmoshub, rpc: "https://rpc.cosmos.directory/cosmoshub", // Replace with your RPC endpoint rest: "https://rest.cosmos.directory/cosmoshub", // Replace with your REST endpoint }, { ...osmosis, rpc: "https://rpc.cosmos.directory/osmosis", rest: "https://rest.cosmos.directory/osmosis", },];
4
Configure the provider
Similar to the Cosmos and Solana providers, configure the ParaCosmosProvider component by wrapping your application content in the ParaCosmosProvider component. Pass in the required configuration props:
Setting up a dedicated provider component that encapsulates all the necessary providers and modal state management is
considered a best practice. This pattern makes it easier to manage the modal state globally and handle session
management throughout your application.
When using Next.js or other SSR frameworks, proper client-side initialization is crucial since web3 functionality relies
on browser APIs. There are two main approaches:
Using the 'use client' directive in Next.js 13+:
Add the directive at the component level where browser APIs are needed
Ensures the CosmosProvider component and its dependencies only run on the client
Maintains better code splitting and page performance
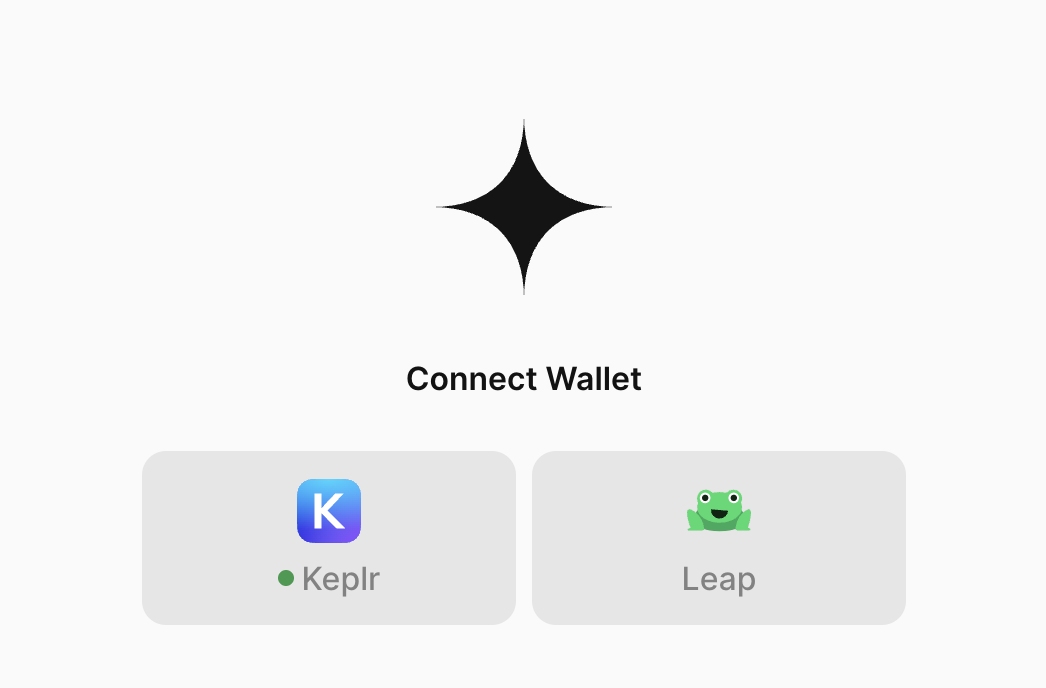
After setting up your providers you need to configure the ParaModal component to display the external wallets and
authentication options to your users. You need to pass in the externalWallets and authLayout configuration options
to the ParaModal component to control which of the wallets show in the modal that were specified in the provider
configuration.Optionally, you can pass the createLinkedEmbeddedForExternalWallets prop to include full Para authentication for specific wallets.
This will add a signature verification step for these wallets and will setup a full Para account for the user, including creating Para wallets according to your APi key settings.
Defines the authentication layout style for social login and external wallets. Options are AUTH_FULL, EXTERNAL_FULL, AUTH_CONDENSED, and EXTERNAL_CONDENSED. Test the layout options in our Modal Designer
Connection only external wallets bypass all Para functionality (account creation, user tracking, etc.) when connecting an external wallet. To enable this, set the following option on your Para instance:
Since connection only wallets bypass Para, most Para functionality will be unavailable. This includes full Para auth with external wallets, on & off ramping, etc.
Now that you have integrated Cosmos wallets into your Para Modal, you can explore more advanced features like signing
using the Para SDK with popular libraries like CosmJS.